
Cart is empty

Curabitur placerat magna sollicitudin
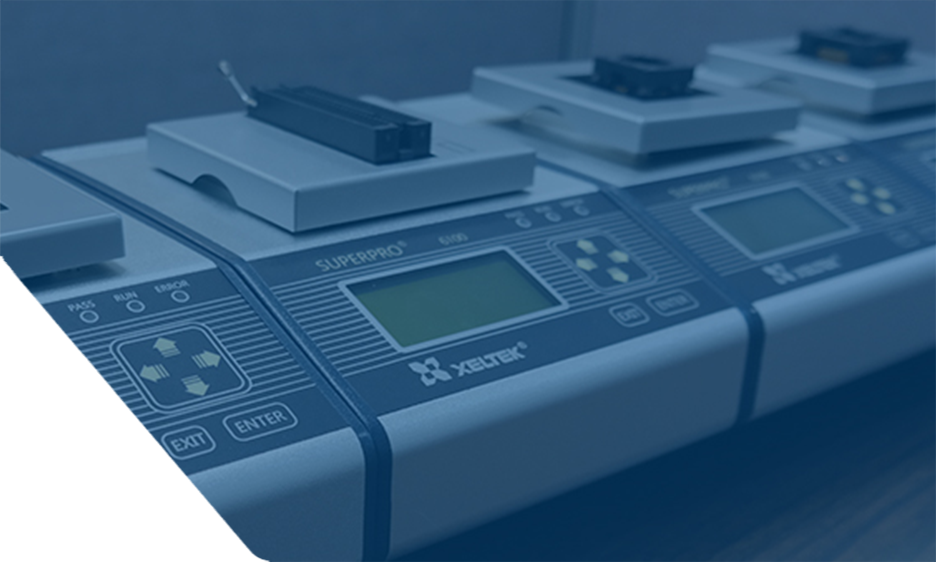
Troubleshooting Automated SuperBOT Programmers
General faults of the automated programming machine include abnormal mechanical movement, IC placement and pickup, IC programming, IC printing and IC feeding/outlet, as described below:
Abnormal Mechanical Movement
| Description | Possible Cause | Troubleshooting Measure |
|---|---|---|
| Inaccurate X, Y or Z axis | Loose spare parts or component | Check and fasten the spare parts or components |
| Interference to movement | Check and eliminate interference | |
| Abnormal transmission or loose belt | Adjustment or replacement | |
| Abnormal mechanical noise | Deformed guide rail or excessive parallel deviation | Re-calibration of replacement |
| Worn steel ball inside sliding block | Replacement of sliding block | |
| Insufficient lubricant | Addition of lubricant |
Abnormal IC Placement and Pickup
| Description | Possible Cause | Troubleshooting Measure |
|---|---|---|
| Abnormal nozzle movement | Improper setting of vacuum meter | Re-setting |
| Deformed nozzle or interference | Check/replace nozzle or eliminate interference | |
| Failure of IC pickup | Signal output setting of vacuum meter too high | Re-setting |
| Insufficient press depth of nozzle | Re-measurement of the depth according to standard procedure | |
| Insufficient air source pressure or air leakage | Check/adjustment of air pressure, check for air leakage in the air pressure loop | |
| Damaged or deformed nozzle | Check/replacement of nozzle | |
| Unsuitable nozzle specification | Replacement of nozzle | |
| Dropped IC after pickup | Air cylinder lifts or lowers too fast | Adjustment of cylinder valve |
| Insufficient air pressure or air leakage | Check/adjustment of air pressure, check air pressure loop and eliminate air leakage | |
| Dirty nozzle | Cleaning or replacement of nozzle | |
| Damaged or deformed nozzle | Check/replacement of nozzle | |
| Unsuitable nozzle specification | Replacement of nozzle | |
| Resistance at chip pickup position | Check and eliminate foreign matters | |
| Improper IC placement | Sticky surface of nozzle or IC | Clean surface of nozzle or IC |
| Insufficient air blow (vacuum damage) | Proper increase of air blow |
Abnormal IC Programming
| Description | Possible Cause | Troubleshooting Measure |
|---|---|---|
| Yield of programming too low | Inaccurate mechanical positioning | Re-positioning according to standard procedure, including height measurement |
| Poor contact of IC pin | Check IC pin or cleaning /replacement of adapter seat | |
| Abnormal programmer | Replacement of programmer or contact with Xeltek personnel | |
| Improper programming setting | Re-setting of programming parameters according to standard procedure | |
| IC quality problem | Notify IC supplier to confirm IC quality | |
| Abnormal connection of programmer | Abnormal or unstable programmer | Replacement of programmer or contact with Xeltek personnel |
| Disconnected USB cable | Connect USB cable | |
| Empty programming | Wrong human interference during programming | Strict implementation of standard operating procedure, prohibition of manual placement of ICs |
| Improper vacuum setting | Check vacuum setting and re-set it | |
| Inconsistency of number of programmed IC | Failure to clear counter to zero before programming | Operate according to standard procedure |
| Incomplete disposal of alarm message | Continue operation after full disposal of alarm message | |
| IC dropped into machine or adjacent area | Check for IC dropped into machine or adjacent area |
Abnormal IC Printing
| Description | Possible Cause | Troubleshooting Measure |
|---|---|---|
| Failure to print on IC | Dry ink | Replacement of ink box |
| Printer head too low | Adjustment of height of printer head | |
| Ink on IC too thick/light | Improper setting of printer head | Adjustment of height of printer head |
| Dirty /stick ink on IC | Too much ink on printer head | Clean printer head |
Abnormal IC Tube Feeding
| Description | Possible Cause | Troubleshooting Measure |
|---|---|---|
| IC feeding too slow | Insufficient vibration or interruption | Proper adjustment of vibration amplitude of feeding device |
| IC stuck in tube | Improper IC tube size or deformed feeding tube | Replacement of feeding tube |
| IC stuck by positioning block | Misaligned feeding tube with positioning block or improper mounting | Adjustment of position of feeding tube |
| IC bounced up | Excessive vibration | Adjustment of vibration amplitude |
| IC stacked at positioning block | Excessive inclination of feeding tube or outlet of the tube dose not contact with vibration surface flatly | Adjustment of inclination of feeding tube or enable outlet of the tube to contact with vibration surface flatly |
Abnormal IC Tube Outlet
| Description | Possible Cause | Troubleshooting Measure |
|---|---|---|
| IC outlet too slow | Improper vibration amplitude | Proper adjustment of vibration amplitude of outlet device |
| IC stuck at tube inlet | Improper tube size or misaligned inlet | Replacement of tube or position of tube inlet |
| IC outlet alarm | Sensor is shielded by foreign matter on top | Remove foreign matter |
Abnormal IC Tape Feeding
| Description | Possible Cause | Troubleshooting Measure |
|---|---|---|
| Abnormal IC tape feeding | Improper air pressure | Adjustment of feeding air pressure |
| Improper adjustment of feeding gun | Adjustment of feeding gun as required |
Abnormal IC Tape Outlet
| Description | Possible Cause | Troubleshooting Measure |
|---|---|---|
| Inaccurate placement position | Failure to set the tape inlet device during positioning operation | Reset the inlet machine and re-position outlet position |
| Stuck outlet tape | Tape dragged too tight | Adjust of tape inlet device |
| Folded or damaged empty tape | Change with new tape | |
| Wrong travel distance | Improper adjustment of travel detection sensor | Adjustment of position and signal intensity of travel detection sensor |
| Abnormal empty tape alarm | Improper adjustment of empty tape sensor | Adjustment of empty tape sensor |
| Abnormal tape upheaval alarm | Improper adjustment of tape upheaval sensor | Adjustment of tape upheaval sensor |
Instructions to replace programming module inside SuperBOT programmers:
- Open the side panel on SuperBOT and disconnect cables attached to the module box.
- Unscrew 4ea hex screws from the top. Move the Z-nozzle assembly around in order to access the screws.
- Pull up the module box and set on the table.
- Unscrew 4ea screws from the top for the affected module so that it will be loose.
- Set the box upside down and unscrew 6 screws (3ea from each side) and remove the metal box slowly so as not to damage the connected cables.
- Exchange the module.
SuperBot Troubleshooting / Maintenance Videos
How To remove the feeder holder on SuperBot 3
How to adjust the foot on the SuperBot3
How to install socket adapter plate on SuperBot 3
How to remove a PCB module for repair on SuperBot 3
Do you have any questions?


